在 Linux Mint 19.3 中使用 JetBrains Rider 2019 开发 ABP vNext 应用程序
创建项目
在 ABP vNext 网站的 Get Started 创建一个名字为 Acorn.BookStore 的 MVC 项目

将下载后的 BookStore.zip 解压缩到 Acron.BookStore 文件夹,并用 Rider 2019 打开该文件夹下名为 Acorn.BookStore.sln 的解决方案。
切换到 EF Core MySql 提供程序
安装 Volo.Abp.EntityFrameworkCore.MySQL包
在解决方案的 src 文件夹中的 Acorn.BookStore.EntityFrameworkCore 项目上 右键 选择 Manage NuGet Packages, 在下面出现的搜索框输入 Volo.Abp.EntityFrameworkCore.MySQL , 并选择安装到 Acorn.BookStore.EntityFrameworkCore 项目中。
替换模块依赖项
在 .EntityFrameworkCore 项目中找到 BookStoreEntityFrameworkCoreModule 类(BookStoreEntityFrameworkCoreModule 前面的 BookStore为创建项目时使用的名称,如果使用了不同的名字,找到对应的即可), 删除 DependsOn attribute 上的 typeof(AbpEntityFrameworkCoreSqlServerModule), 添加 typeof(AbpEntityFrameworkCoreMySQLModule) (或者替换 using Volo.Abp.EntityFrameworkCore.SqlServer; 为 using Volo.Abp.EntityFrameworkCore.MySQL;).
使用 UseMySQL()
- 在
BookStoreEntityFrameworkCoreModule的ConfigureServices方法中找到以下代码:
1 | Configure<AbpDbContextOptions>(options => |
替换为:
1 | Configure<AbpDbContextOptions>(options => |
- 在
Acorn.BookStore.EntityFrameworkCore.DbMigrations项目中打开文件BookStoreMigrationsDbContextFactory, 找到BookStoreMigrationsDbContext中的以下代码:
1 | public BookStoreMigrationsDbContext CreateDbContext(string[] args) |
修改为:
1 | public BookStoreMigrationsDbContext CreateDbContext(string[] args) |
更改迁移 DbContext
在 Acorn.BookStore.EntityFrameworkCore.DbMigrations 项目中打开文件 BookStoreMigrationsDbContext, 找到其中的 protected override void OnModelCreating(ModelBuilder builder) 方法,将该方法中的以下语句:
1 | builder.ConfigureIdentityServer(); |
替换为:
1 | // builder.ConfigureIdentityServer(); |
MySQL DBMS 与 SQL Server有一些细微的差异. 某些模块数据库映射配置(尤其是字段长度)会导致MySQL 出现问题. 例如某些 IdentityServer 模块表就存在这样的问题,它提供了一个选项可以根据您的 DBMS 配置字段.
启动模板包含 BookStoreMigrationsDbContext,它负责维护和迁移数据库架构. 此DbContext基本上调用依赖模块的扩展方法来配置其数据库表.
然后 ConfigureIdentityServer() 方法会将字段长度设置为不超过 MySQL 的限制.
少了这一步,全出现类似
BLOB/TEXT column 'Value' used in key specification without a key length的错误提示。
更改连接字符串
MySQL连接字符串 与 SQL Server连接字符串 不同. 所以检查你的解决方案中所有的 appsettings.json 文件,更改其中的连接字符串.
MySQL 连接字符串示例:
1 | "ConnectionStrings": { |
通常需要更改 .DbMigrator 和 .Web 项目里面的 appsettings.json ,但它取决于你的解决方案结构.
我不知道在 Rider 里面怎么设置某个项目为启动项目,或者是没有这个功能, 但是在可以启动的项目上
右键时, 会出现Run'src/Acron.BookStore...'的菜单项. 所以这里的做法是在appsettings.json中修改了连接字符串后,把相应的appsettings.json文件也复制一份到.EntityFrameworkCore.DbMigrations项目中, 以便能够进行数据库的迁移和更新。
重新生成迁移
删除
.EntityFrameworkCore.DbMigrations项目下的Migrations文件夹, 并重新生成解决方案.在
Rider 2019的Terminal中将当前文件夹定位到.EntityFrameworkCore.DbMigrations项目下。执行数据迁移命令:
1 | $ dotnet ef add migrations "inti" |
如果出现以上提示,是因为没有添加 dotnet-ef 的工具包,解决办法:
1 | $ dotnet tool update --global dotnet-ef |
再次执行数据迁移命令:
1 | $ dotnet ef migrations add "init_mysql" |
更新到数据库:
1 | $ dotnet ef database update |
初始化种子数据
运行 .DbMigrator 项目创建数据库和初始种子数据。但是直接运行时会出现以下信息:
1 | [17:02:17 INF] Started database migrations... |
在 Run 窗口显示以上内容时,就卡住不动了,所以这里的解决办法是,先执行数据迁移和更新数据库命令, 再运行 .DbMigrator 项目(正常情况应该是执行迁移命令之后 ,就可以直接运行这个项目完成数据库创建和初始种子数据两个工作).
运行应用程序
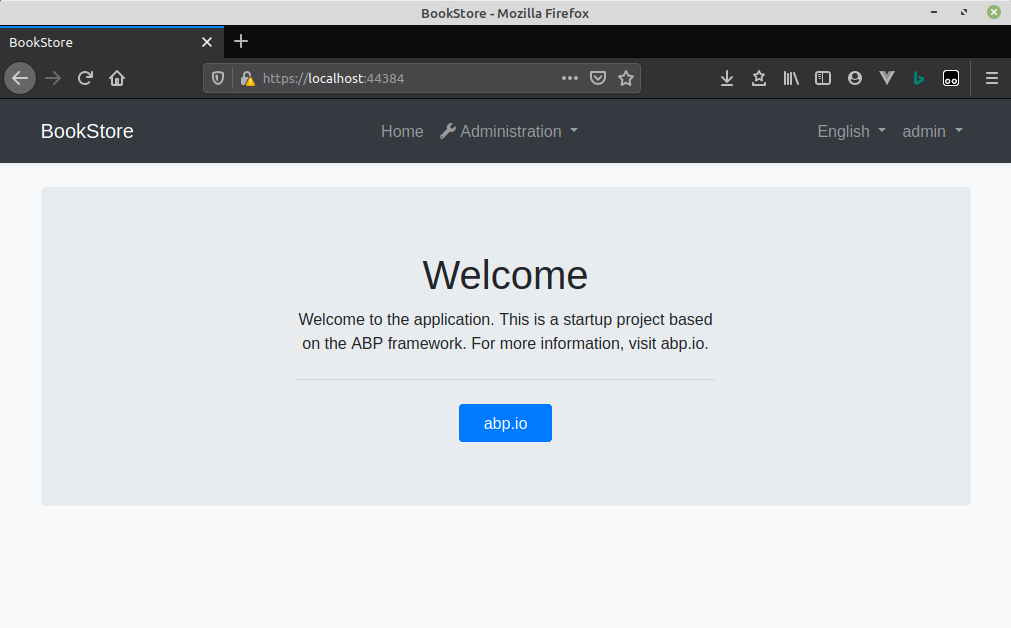
最后运行 .Web 项目,就可以了。
===END===

